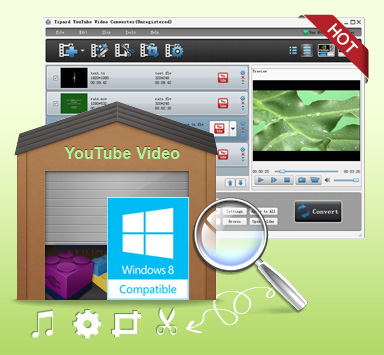
Tipard YouTube Video Converter 
Features list
 Convert almost all popular videos and even HD videos to YouTube FLV/SWF format
Watermarking, cropping, trimming and merging editing functions to edit video effect
High conversion speed with perfect output quality as the new NVIDIA® CUDA™ technology
Multiple interface languages users can choose from: English/French/German/Japanese
Support multi-core CPUs
This best YouTube Video Converter owns powerful converting functions to convert any other videos such as MPG, MPEG, VOB, WMV and etc. to YouTube FLV with high conversion speed and perfect output quality.Plus, Tipard YouTube Video Converter software allows users to edit their favorite videos by watermarking, trimming, cropping, merging and etc. Further more, output settings of YouTube Video Converter are various for you to adjust output file effect. In short, it is the best professional YouTube video converter software for users.
Time-limited Offer with 30% Off
Step 1: How to add videos
Three ways you can choose from to add vide file:
Method One: Click "Add File", it would pop up one window, and select you want to convert file on this window.
Method Two: At the top of the drop menu, click "File", then select "Add File" to import any video and audio files.
Method Three: Drag the file to Tipard PSP Video Converter interface directly.
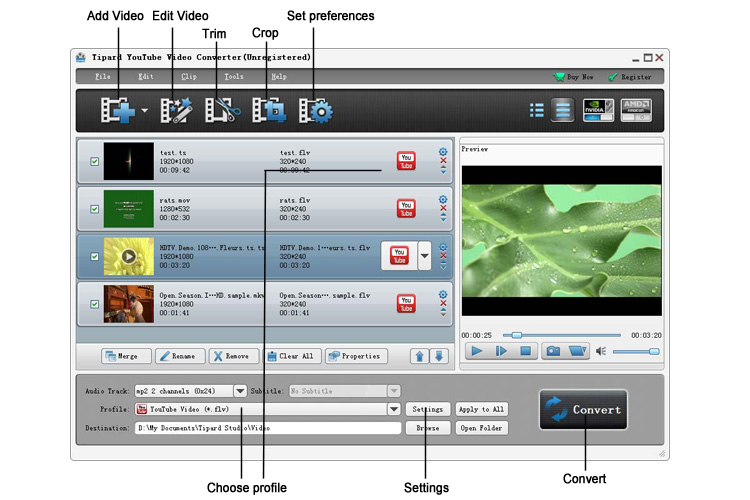
Step 2: How to edit videos
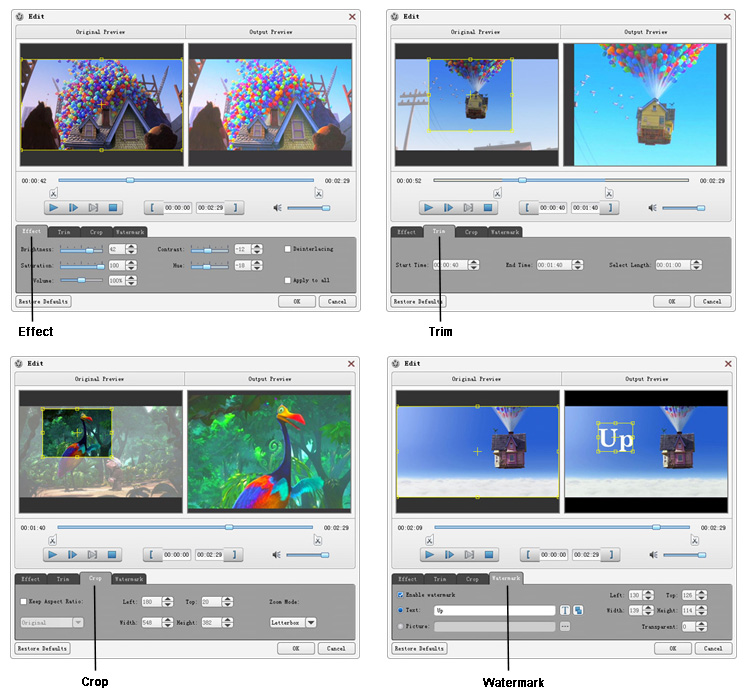
Click "Clip">> "Trim"/"Crop"/"Effect"/"Watermark" to adjust video settings and you can also edit the videos with editing image buttons.
a. Trim - You can trim one segment by setting the start and end time.
b. Crop -Crop the picture frame of a video to remove any unwanted areas from it using this AVI converter like a pair of sharp scissors.
c. Effect - Set video effect, including Brightness, Contrast, Saturation, and Deinterlacing.
d. Watermark - Add multiple picture or text to your personalized video.
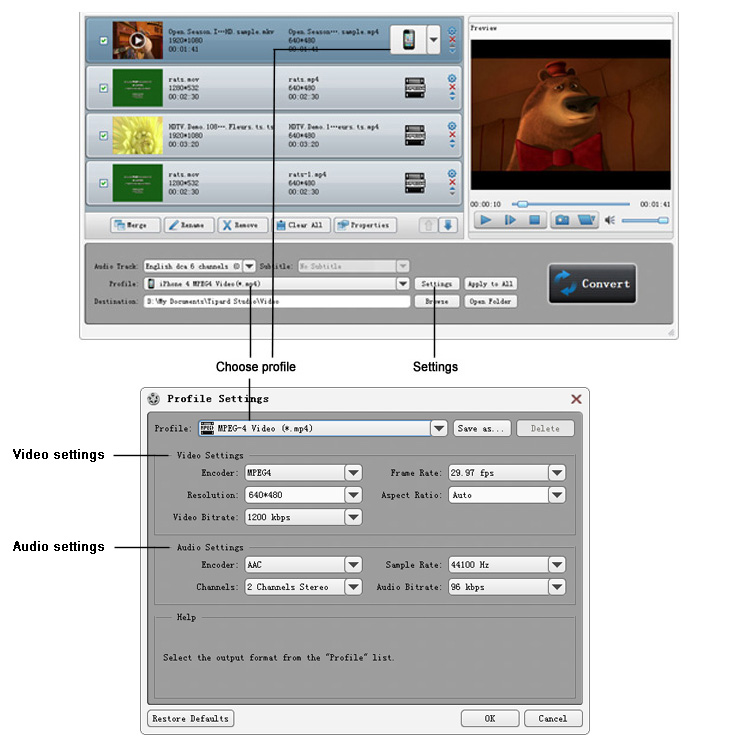
Step 3: How to choose format and settings
After edit the video, you can choose the output movie formats as your need, you can do like this: Click the drop-down menu of "Profile" and choose the right format from the category list or simply input the format, like AVI, then click the suitable one for your devices or player.
Tips: "Apply to all" can be used when you convert more-than-one videos to the same format. Users can also set detailed parameters in "Settings" which can help users improve the video/audio quality.
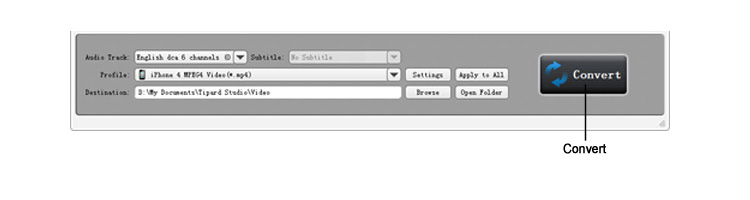
Step 4: How to convert videos
Click "convert" button to start the conversion. The conversion will be done in few minutes and then you can enjoy favorite videos right away.
Related Products
Hot Guides
Video Guide
coming soon....
 Home
Home Products
 Guides
 Support